Sunday, November 12, 2006

door number 1, 2, or 3?

we're so close to our self-imposed house-remodeling holiday! this past weekend we tended to much-neglected yardwork and finished up our last major projects.

lori finished the two door projects. you can't tell in the picture, but the laundry room door has metallic silver raised areas with a reddish background:


again, the picture doesn't do it justice, but the dining room closet has bronze raised areas with a reddish background:


finally, we finished refurbishing the side door to the kitchen. we had planned on replacing the door, but in the interest of time and $$$, we painted it and installed some trim. we have a roman shade on order to give us some privacy, but the door looks a lot better:


our lounge light arrives on tuesday, but you'll have to wait until we get back on the blogwagon after the holidays. we are officially on vacation! happy holidays...

Sunday, November 05, 2006

we can cook now, but where are we to eat?

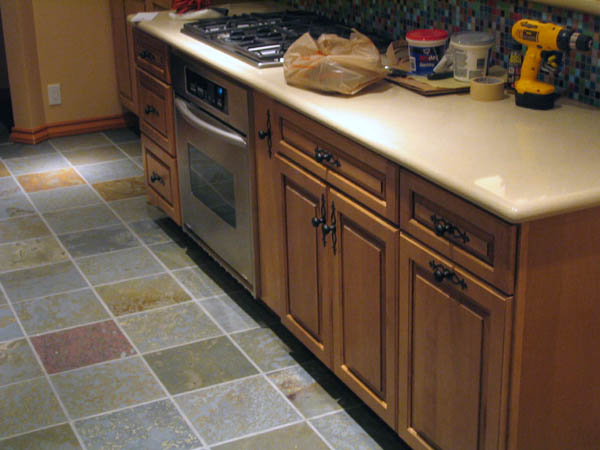
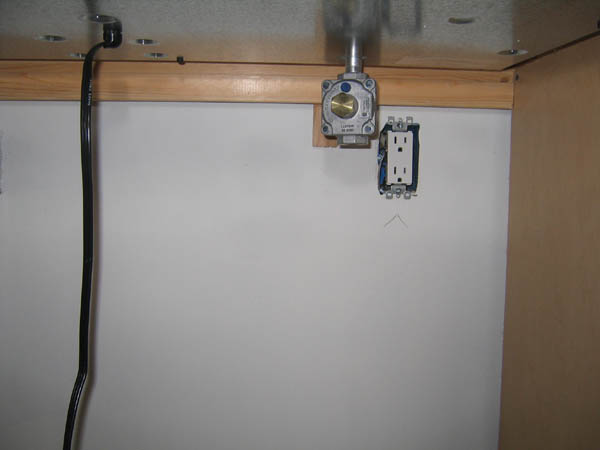
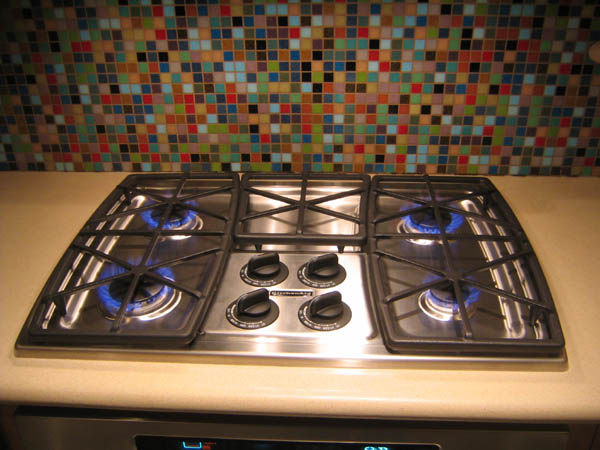
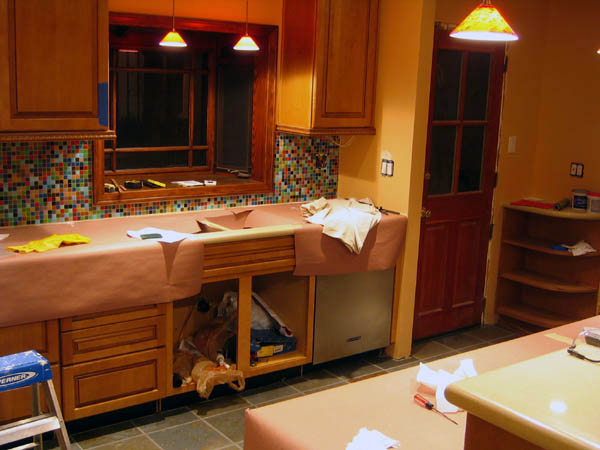
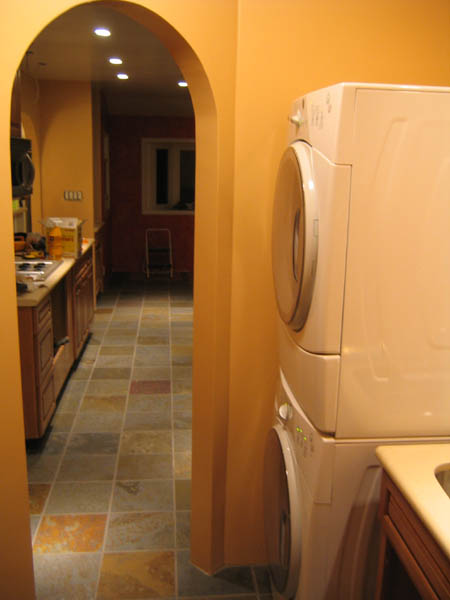
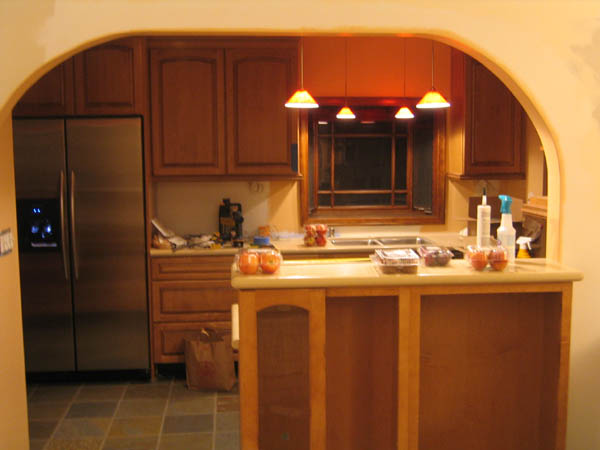
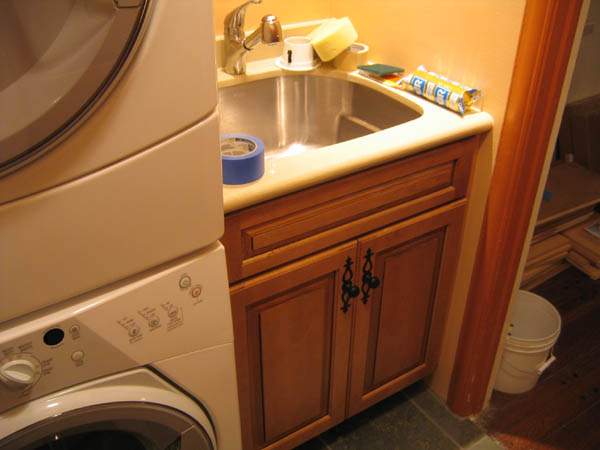
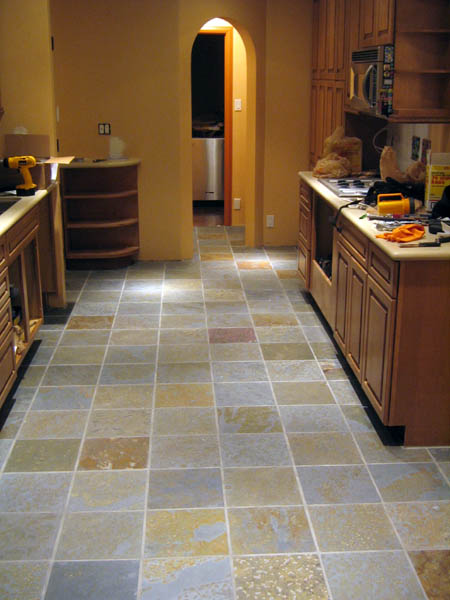
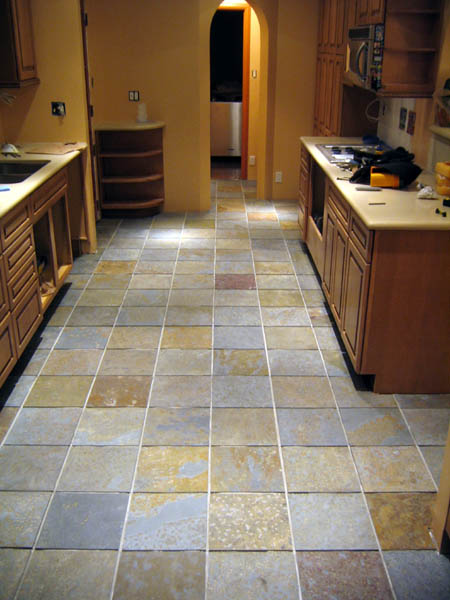
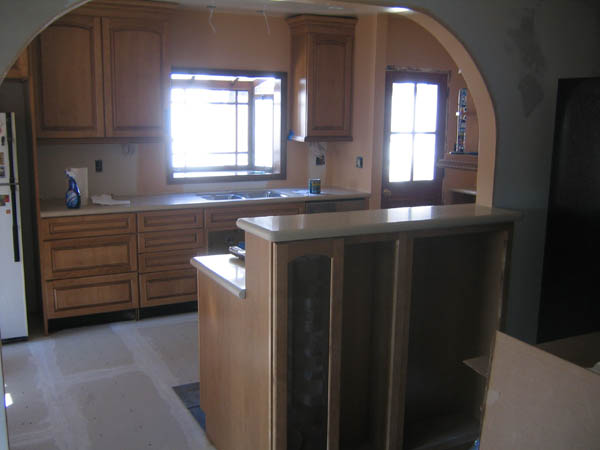
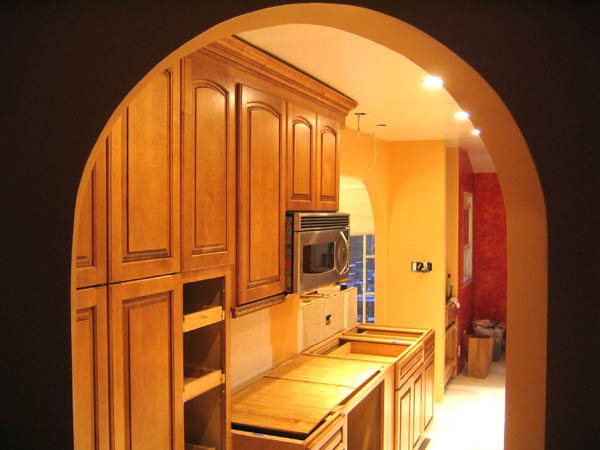
sorry we've been negligent to our faithful viewers! two weeks ago we finally unpacked our boxes of dishes, pots, pans, silverware, etc. and started using the kitchen! we are still tying up loose ends (such as installing undercabinet lighting, caulking, organizing, etc.), but everything is now functional and we are eating, drinking, and cooking like normal people.

most importantly, we reopened the lounge. unfortunately, we are still waiting for our lounge overhead light to arrive, but you don't need light to sit and drink while someone else prepares dinner, right?


drinks, anyone?


since the kitchen is about 90% finished, we decided it was time to move on to the dining room. we painted and installed a chandelier and new sconces. we chose red for the ceiling molding, a dark brown accent wall, lighter brown main walls, and the orange-brown trim color in the kitchen for the door molding. in this picture you can see our color choices and the lighting:


a detailed shot of the antique spanish colonial revival sconces we bought over a year ago:


we also painted the foyer and installed a spanish overhead light (a mere reproduction) that we also bought over a year ago:


while the light is very pretty, it doesn't put out much light due to the mica. a detailed shot of the light:


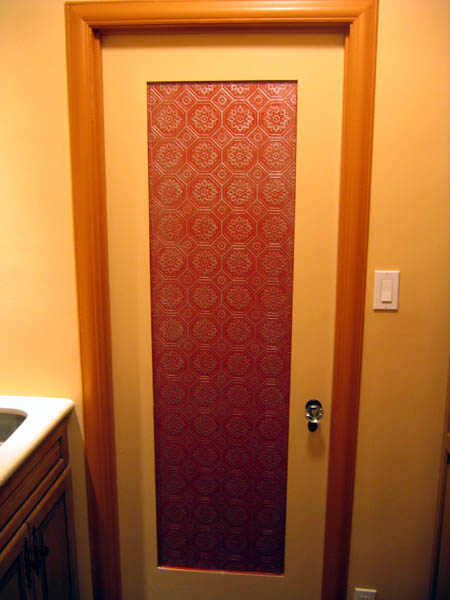
we will likely make one more update before we break for the holiday. lori's famous door projects are in progress, so you'll not want to miss seeing the final products!

Sunday, October 22, 2006

what's that drip?!

this weekend we finally hooked up the kitchen sink, faucet, garbage disposal, and dishwasher! the kitchen is actually starting to look and feel like a kitchen. now, if we could just find the time to tie up the loose ends and clear out the construction refuse, we could cook something and eat on real plates and use real silverware...

we also installed the remaining hardware on the cabinets. here are some pictures which show the "completed" sink side, oven side, and dry bar:


we also finished painting the window trim and installed baseboards in the lounge:


stay tuned - we're not done yet! we still have to paint the dining room, side door, finish the baseboards...

Sunday, October 15, 2006

what's that smell?!

it's a functional oven!


we had to celebrate another step towards civilization by baking a frozen pizza. we connected the cooktop and installed the oven in its cabinet this weekend. it wasn't without trials though, as the gas regulator for the cooktop would have gotten in the way of the oven:


a little plumbing and it was easy-breezy:


after the cooktop and oven were in place, unbeknownst to us there was one final, crucial step; jason had to crawl under the house and pull the wire for the oven to the electric panel and install a new breaker and connect some loose electrical to power the cooktop ignitor.

here's the cooktop in action:


in addition, we grouted the backsplash:

Sunday, October 08, 2006

all about the backsplash

from the very beginning of the kitchen design, we knew that we wanted the focal point of the kitchen to be the backsplash. we purposely chose fairly mellow cabinets, countertop, and paint (with the exception of the faux finish in the lounge) so we could select a fun, bright backsplash.

friday we spent running around town getting supplies and familiarized ourselves with cutting tiles; tiny 3/4" glass tiles are much more fragile than the 12" slate floor tiles. by the end of the day, we laid the glass tile in the lounge window box:


on saturday we finished hanging the rest of the tile.

the stove side:


the sink side:


the dry bar:


a detail view of the bar tile:


we hoped to grout on sunday, but unfortunately, someone applied the thinset too thickly in some places so the whole day was lost to scraping the extra thinset out from between the tiles using a tiny screwdriver. it was not pleasant.

at the end of the weekend, the foreman christened our work:

Sunday, October 01, 2006

the dawn of civilization

we kicked off the weekend by applying an acid wash to the slate floor to remove the grout haze. that did wonders for the floor, but seeing the gold flecks in the slate catch the sun is a sight that cannot be seen in a photo. after sealing the floor, there was nothing stopping us from hooking up some appliances.

to install the refrigerator, jason had to crawl under the house to run the water line from the sink to refrigerator cabinet. once that was done, installing the fridge was a piece of cake. we now have an unlimited supply of cold water and ice cubes!


next up was the washer and dryer. when we moved into this house 14 months ago, we knew something would be done to the kitchen/laundry room so we decided to wait to buy a washer and dryer, which meant 14 months of going to the laundromat. this was an exciting day. after lori flexed her muscles and helped jason stack the dryer, all of the connections were made and we truly entered the civilized world.


here's the view from the laundry to the kitchen:


we also hung the last two pendants over the bar:


here's another close-up, the glass on these pendants is more interesting than those over the sink:


we also hung all of the curio doors:


here's the laundry sink base with doors and hardware (also note the faucet - it actually works now!):


a close-up of our hardware choice:

Sunday, September 24, 2006

the floor is done

well, almost. we finished grouting this weekend, but we have some final cleaning and sealing to do (that's the easy stuff).


we also received our backsplash, which hopefully will be installed in two weeks. here's the 50 lb box of tile:


and a finishing touch, we finally put the dangling wires over the sink to use and installed our pendants (we have another pair to go over the bar but they aren't installed yet):


and here's a close-up:

Sunday, September 17, 2006

the floor takes shape

we finished laying the tile this weekend, but we still have to grout and seal.


not much of an update - sorry.

Monday, September 04, 2006

labor

is there a better way to celebrate labor day weekend than 3 days of labor? we think not, but we would relish the opportunity to partake in other options. the focus of this holiday weekend was installing the slate floor. after doing some research, we realized it's a good idea to wash slate before installing it. washing 250 12 in by 12 in tiles takes longer than you might expect. after washing and sorting through the tiles, we tackled the layout. the best way to arrange tiles in an odd shaped space takes longer than you might expect (in fact, we've learned that everything takes longer than you might expect). you have to consider how to avoid small cut pieces around the edges, how the tiles butt up against the cabinets, what is centered (a tile or grout line) in entry ways, etc. once we figured out the layout, we used chalk lines to mark the reference lines and hairspray to keep them from disappearing:


on sunday we began installing the floor. we were a bit disheartened that we only laid around 36 sq ft. we regrouped and determined how we could expedite the process, and we were able to lay about 60 sq ft. on monday. we are over half-way done!

the lounge:


the dining room entry to the kitchen:

Sunday, August 27, 2006

and then there were counters

the counters, caesarstone baja, were installed last tuesday, and then we went to vegas to finance this whole kitchen. the work gets done a lot faster when you pay someone else to do it, as we learned in this instance. an overall view:


from the dining room:


the kitchen sink:


the laundry sink:


the counters look like a solid color, but they have little granules and crystals which add some variation. we purposely chose a mellow surface color because we want the focal point of the kitchen to be the glass tile backsplash. in this picture, you can see the two sample sheets between which we were deciding:


we'll leave it as an exercise to the viewer to decide which sheet won and which one of us preferred which sheet...

Sunday, August 20, 2006

a little trim goes a long way

we originally planned to work on the tile floor layout, but instead we decided to take advantage of our miter saw rental from the aerospace tool club and finish some loose ends. on saturday we cut and installed window trim around the box window in the lounge. it still needs to be caulked and painted, but it definitely looks a lot cleaner around the edges:


next we prepared the trim for the garden window. of course, nothing is simple; to accommodate the irregular wall surface around the garden window, we had to build a frame upon which the trim would sit. after making the cuts, we stained the trim and framing. on sunday morning, we installed the framing and trim:


we also installed the microwave and finished the light rail on the oven side:


unfortunately, the microwave isn't functional yet; home depot seems to be in short supply of 3.25 x 10 x 6 ducting that connects the microwave vent to the roof vent.

and finally, as requested, here's a pic of the new toilet in the spare bathroom:


we are taking next weekend off and heading to vegas. we need to pay for this kitchen somehow!