Sunday, July 30, 2006

odds and ends

today was a light day. lori primed and applied the first coat of paint in the bathroom to cover the plumbing work while jason installed hardibacker on the back of the curio cabinets to extend the backsplash. the final cabinet on which the countertops are dependent, a shelving unit, was also installed. in this picture you can see the shelving unit near the exterior door:


we also put some drawers in - it's starting to look like a kitchen:

Saturday, July 29, 2006

a deadline was met (for a change)

rich started the day with the first coat of stucco around our new window to fix the gaping holes in the side of the house:


our half-ton of slate arrived today, so we opened a box to enjoy our selection (a brazilian multi-color slate called san rio rustic):


after cancelling our first appointment for the counters to be measured we were determined not to miss our second appointment. with rich's help, the remaining cabinets that are essential to the countertops were installed. this primarily consisted of the cabinets on the stove-side and the curio cabinets that will form a small bar facing the dining room:


Friday, July 28, 2006

we got our pantries in a bunch

rich came down for his fourth and final weekend to apply some stucco, move the toilet to the spare bath so we can once again have a three bed/two bath house, and help us install the cabinets. rich started on the toilet before we had even had our coffee, and through the open trap door to the crawlspace, button slipped away. after some crying he decided it wasn't so bad down there after all and began to explore, much to our chagrin. he can walk faster than jason crawls on his belly under the house, but luckily he became interested in eating (and puking) grass near a crawlspace vent so lori was able to grab him, kicking and fighting.

after button's big adventure, lori and jason worked on prepping the cabinets for installation. here's the finished plumbing for the toilet:


lori started patching up the wall:


after a little struggle, the 5-feet wide, 2-feet deep, 90-inch tall pantries were attached to each other and installed as a unit. the tricky part was aligning the pantries with the wall upper cabinet to create a seamless face:


it was a long day for all:

Sunday, July 23, 2006

slow progress

after a fight with the base cabinets on wednesday, we left for san diego for a much needed break. part of our time was spent at comic-con, a huge comics/sci-fi convention. it was interesting, a lot of people take it seriously and dress up:


here's lori with something yellow:


of course our troubles with the base cabinets at home made us eager to return early sunday to finish the sink-side base cabinet installation. success! (with one part of the refrigerator end panel installed):

Tuesday, July 18, 2006

turning the corner

thankfully the cabinet installation started to improve as we got the hang (pardon the pun) of it. today we managed to get 3 wall cabinets hung, the dishwasher end panel mounted, and started some base cabinet installation. the kitchen is actually starting to take shape.


some prep work:


we also installed the run of light rail in the dry bar and our method has now been established. the dry bar waiting for final molding touches, doors, shelves (little things):


tomorrow we hope to close out the refrigerator side of the kitchen and then in a week and a half we'll tackle the oven side and curio cabinets. on thursday we head to san diego for a much needed break! we had hoped our foreman would take care of the final coat of trim paint in the laundry room, but again he was asleep on the job:

Monday, July 17, 2006

remodeler's remorse

it's been a long hard weekend. day after day of work has started to grate on both of us. it certainly doesn't help when nothing is going according to plan and everything is much harder than anticipated. on friday, the appliances arrived and we mapped out on the wall the locations of the base cabinet tops and the wall cabinet bottoms.

here are the piles of appliances (sans washer - on backorder):


and more appliances!


and our pretty new faucet:


we spent several hours determining a workaround for our molding. it turns out that some areas of the ceiling are a little bit higher than we anticipated; this height increase is a problem because we need the crown molding to hit the ceiling. we were able to figure out a way to extend our 3" stock molding (which is installed on top of the cabinet and the crown attaches to the top of the stock molding), and that tragedy was avoided.

after mapping the cabinet locations and more planning, we started creating the platform on which the laundry room utility cabinets would rest. we needed to raise the cabinets 2.5" so that again the stock/crown moldings would reach the ceiling. here's the platform:


on saturday we were able to get the 15" and 18" wide x 90" tall utility cabinets and filler together, though not without traveling a steep learning curve. by the end of the day the cabinets were in place. two cabinets installed in just two days! on sunday we installed the sink base, tested our extended stock / crown molding installation, and applied the first coat of trim paint in the laundry room. the finished products:


monday we tackled the dry bar. it took quite some time to deal with uneven walls, but our biggest dilemma was coming up with a solution to install the light rail below the cabinets. by the end of the day we had a proposed solution, but we would have to test it out on tuesday morning.

we were both feeling a bit low in terms of the lack of progress and one problem after another. unfortunately our foreman was asleep on the job:

Wednesday, July 12, 2006

oh. my. the. cardboard. make. it. stop.

the day started with hopes of installing some cabinets. those hopes were dashed as we unpacked each box, checked our invoice to make sure nothing was forgotten, checked for damage, removed doors and drawers, organized the cabinets, and cut & folded the mountain of cardboard packing.

part of the mountain (the other half is around the back of the house):


we had the large pantry and utility cabinets moved into the kitchen when they were delivered so we wouldn't have to move them too far from their final destination. here they are waiting to be installed:


the highlight was unpacking the glass doors for the dry bar and the curio cabinets:

Tuesday, July 11, 2006

the cabinets arrive!

we had a relatively easy day today (still exhausted from yesterday), starting by making room in the garage (cabinets take up a lot of space) and applying the second coat of wall paint before the cabinets were delivered. one of the pantry cabinets was too large to be brought into the house in its box, so we were able to enjoy a peek at our cabinet selection prior to unpacking all of the boxes:


here's what we have to look forward to unpacking tomorrow:

Monday, July 10, 2006

wanna socialize?

we don't, we're tired. today was a long day, finally stopping work at 11:30pm. we finished the final coat of ceiling paint, and while lori applied the first coat of our wall paint, sherwin-williams 'sociable', jason started the hardibacker installation to serve as the base for the slate tile. besides the fact that the hardibacker needed to be installed with thinset mortar under it, it must also be screwed down. in total we went through almost 1,000 screws. our friend the impact driver saved our wrists.

from the dining room:


into the lounge:


toward the laundry room:


into the laundry room:

Sunday, July 09, 2006

5 gallons of primer

today was exciting: we got to take down the plastic wall that kept all of the construction dust out of the rest of the house. this affords better views of our new extended arch. we finished the plywood installation and got two coats of primer on the walls and ceiling. we also applied the first coat of ceiling paint. an additional bonus from applying the primer is that not only are the walls a uniform color, all of the horrid old yellow is gone!

our extended arch from the dining room:


the view toward the lounge:


toward the laundry room:


into the laundry room:

Saturday, July 08, 2006

hardwood floors!

ok, not really. after searching around on the internet, we learned that for our joist spacing it is recommended we beef up the floor to support the slate we're going to install. so, this morning required an emergency run to anawalt lumber to order plywood and have it delivered because 10 sheets of plywood wouldn't fit in lori's hatchback. we managed to get most of it installed today.


we also needed to level the subfloor from the main kitchen floor to the floor that was ripped out with the old hex tile in the new laundry room. to do that, we had to lay self-leveling concrete. isn't it spiffy?

Tuesday, July 04, 2006

25 gallons of mud on the walls

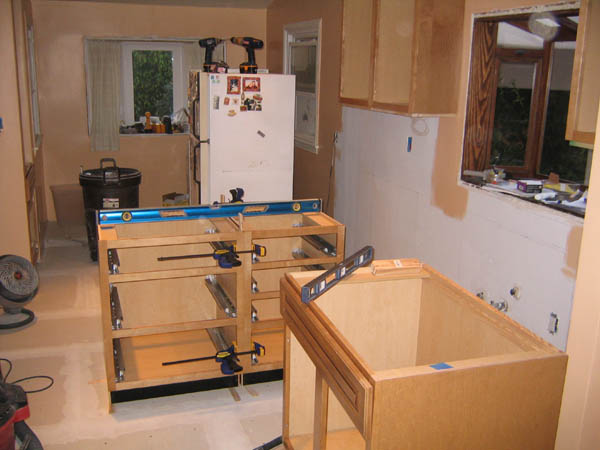
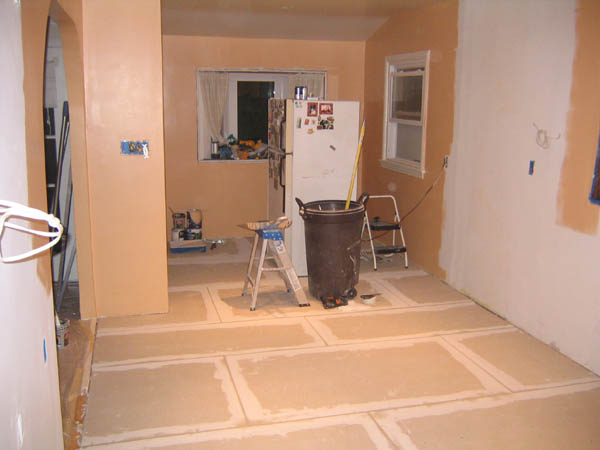
we had 5 days off from work and we thought we'd be ahead of schedule by the end of the long weekend. how wrong we were! our independence day weekend involved the last of the dry wall hanging, 5 5-gallon buckets of mud (yes, 5!), 3 layers of linoleum, and 1 layer of particle board.

while one of the several coats of mud was still drying, we tackled the remaining floor. floor removal entailed using superbar and prying up the particle board which had 2 layers of linoleum glued to it. after those layers were gone, we had to remove the hundreds of staples that secured the particle board to the floor.

here's the pile of staples from half of the floor removal:


and the last layer of old linoleum or clay tiles to be removed:


to remove this final layer, we had to use a scraper and chisels.

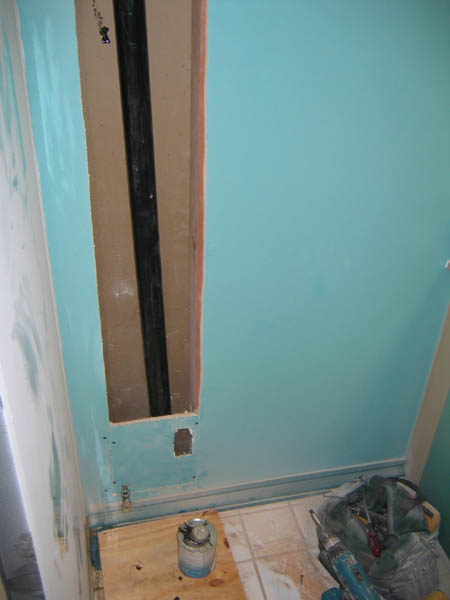
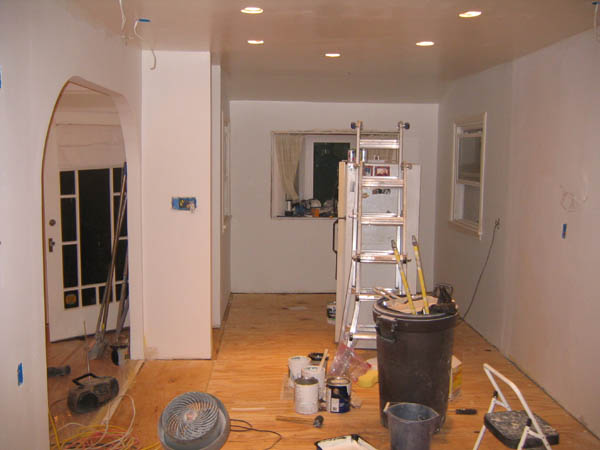
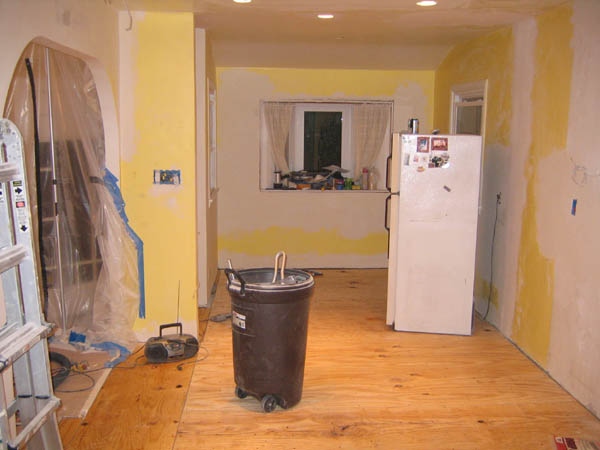
by the end of the weekend we were almost done with mud application. some areas took 4 rounds to look good. the arches are starting to take shape. here is the extended arch between the kitchen and dining room:


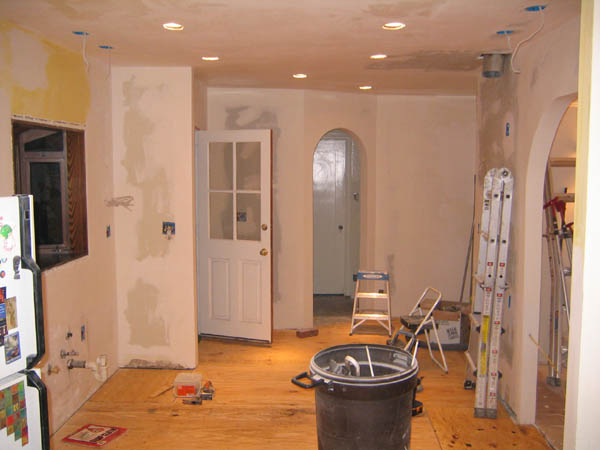
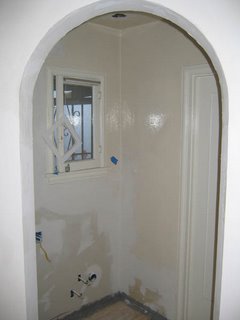
here is the arch leading into the laundry room:


a close-up shot:


a highlight of the weekend was finding someone that paid us $40 to haul away our old oven, dishwasher, sink, and window. one less trip to the dump for us!

we finally set up the portable sink lent to us (thanks tee & hilda!) so dining now is a bit more civilized. who needs a new kitchen?!